


Interactive displays have become indispensable tools in modern classrooms and meeting spaces. They transform passive viewing into engaging, collaborative experiences. However, even the most cutting-edge interactive flat panel (IFP) can start to feel sluggish or limited as technology evolves and software demands increase. Before you consider a costly full replacement, there's a powerful and efficient way to breathe new life into your existing displays: by integrating or updating with a Chromebox OPS.
What is a Chromebox OPS?
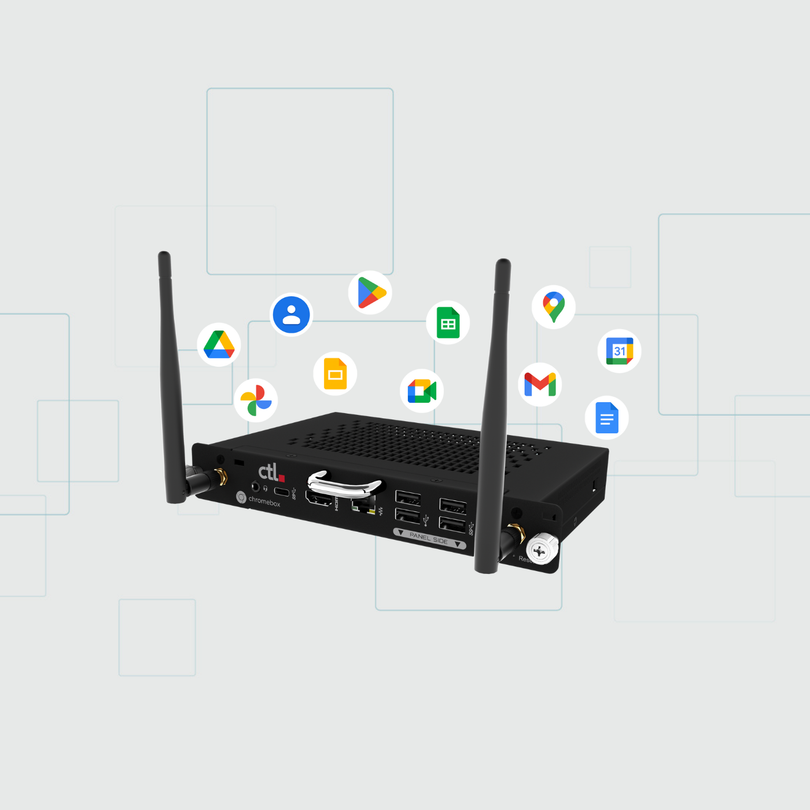
An OPS (Open Pluggable Specification) computer is a compact, modular computing device designed to integrate seamlessly with compatible interactive displays. Think of it as a mini-PC that slides directly into a dedicated slot on the back of your display. This "plug-and-play" design eliminates the need for messy cables, external devices, and complex setups, transforming your interactive panel into a fully integrated, all-in-one Chrome OS computer.
Why Update Your Interactive Displays with a Chromebox OPS?
Many interactive displays come with their own embedded operating systems (often Android-based) that can become outdated or lack the robust features and management capabilities needed for a professional or educational environment. A Chromebox OPS offers a powerful upgrade:
-
Instant performance boost. Say goodbye to slow loading times and laggy interactions. A modern Chromebox OPS provides a significant boost in processing power, allowing your display to run complex educational software, advanced presentation tools, and multimedia content smoothly.
-
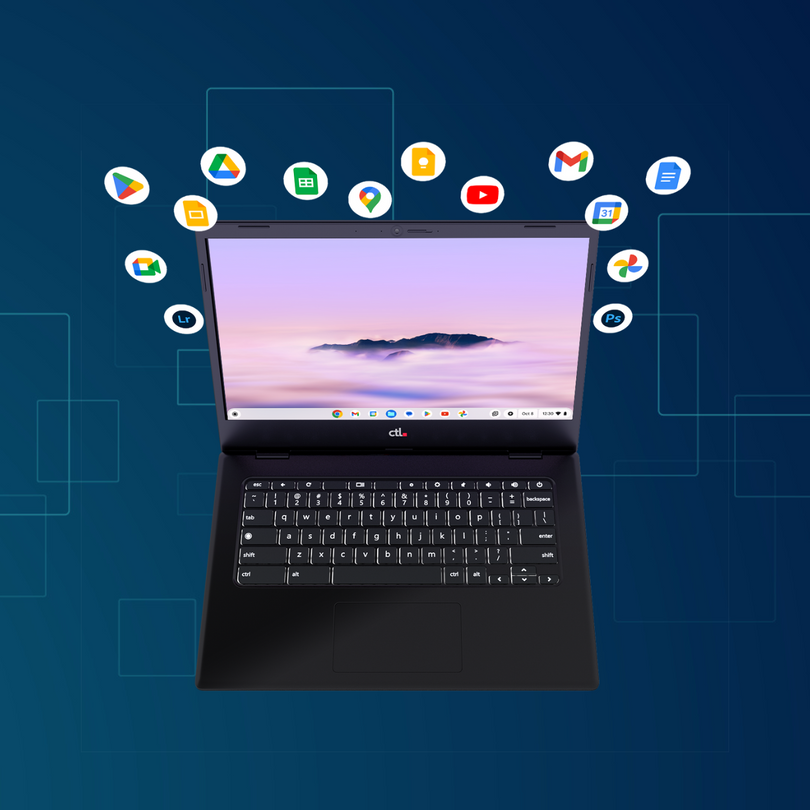
Full ChromeOS experience. For organizations already invested in the Google ecosystem (Google Workspace for Education, Google Workspace for Business), a Chromebox OPS integrates seamlessly. Your interactive display becomes a giant ChromeOS touchscreen, offering familiar apps, cloud integration, and a user experience consistent with your Chromebook fleet.
-
Enhanced security. ChromeOS boasts a layered security model with automatic updates, built-in virus protection, and sandboxing. This drastically reduces the risk of malware and ensures your display's computing environment is always secure, protecting sensitive data.
-
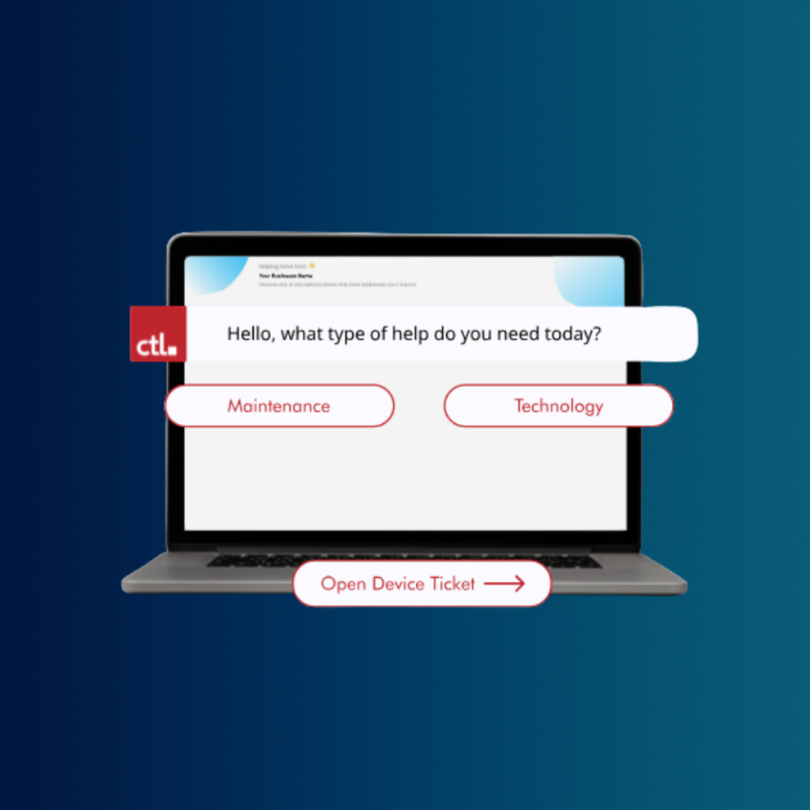
Simplified management. This is a game-changer for IT teams. With Chrome Enterprise Upgrade (or Chrome Education Upgrade for schools), you can manage your Chromebox OPS units alongside all your other Chrome devices from a single, centralized platform: the Google Admin Console. This means remote deployment of apps, policy enforcement, monitoring, and even remote wiping if necessary, significantly reducing IT workload.
-
Cost-effective longevity. Instead of replacing an entire, expensive interactive display when its internal computing power lags, you can simply upgrade the smaller, more affordable Chromebox OPS module. This extends the lifespan of your displays and maximizes your initial investment.
Tutorial: How to Update Your Interactive Displays with Chromebox OPS
The process is surprisingly straightforward, thanks to the standardized OPS design.
Before You Begin:
-
Compatibility check. Ensure your interactive display has a compatible OPS slot. Most modern professional-grade interactive displays support the OPS standard. Consult your display's manual.
-
Power down. crucially, completely power off your interactive display and unplug it from the power source. Wait at least 30 seconds for internal power supplies to discharge. Never install or remove an OPS unit while the display is powered on.
-
Identify your Chromebox OPS. For this tutorial, we'll reference the CTL Chromebox OPS OPx1-3, known for its reliability and integration in educational and enterprise settings.
Installation Steps:
-
Locate the OPS slot. On the back or side of your interactive display, you'll find a dedicated slot designed for OPS modules. It's usually covered by a removable plate.
-
Remove the cover plate. Unscrew or unlatch the cover plate from the OPS slot and remove it.
-
Insert the Chromebox OPS. Carefully slide your CTL Chromebox OPS OPx1-3 into the OPS slot. Ensure it's correctly oriented and slides in smoothly. Do not force it.
-
Secure the module. Once fully inserted, secure the Chromebox OPS using the screws or latches provided (either on the OPS module itself or on the display's OPS slot). This ensures a stable connection.
-
Reconnect the power & power on. Plug your interactive display back into the power source and power it on.
-
Select the OPS input. Once the display powers up, you'll typically need to select the OPS input source. This can usually be done via the display's remote control or its on-screen menu. Your interactive display should now boot directly into ChromeOS.
Software Updates & Management (Post-Installation):
One of the greatest advantages of a Chromebox OPS is the minimal ongoing maintenance:
-
Automatic updates. Chrome OS devices automatically check for and download software updates in the background. Your CTL Chromebox OPS OPx1-3 will regularly receive the latest features and security patches without manual intervention.
-
Manual check (optional). If you ever need to manually check for an update:
-
Click the time/status area in the bottom right corner of the ChromeOS screen.
-
Click the "Settings" gear icon.
-
In the Settings menu, navigate to "About ChromeOS" (usually on the bottom left).
-
Click "Check for updates." If an update is available, it will download and prompt you to restart.
-
Google Admin Console (For fleet management). If your Chromebox OPS is enrolled in your organization's Google Admin Console, IT administrators can control update policies, force updates, and manage all settings centrally. This is particularly useful for schools and businesses managing many interactive displays.
By integrating a Chromebox OPS, like the robust CTL Chromebox OPS OPx1-3, you're not just upgrading a display; you're transforming your interactive panels into powerful, secure, and easily manageable Chrome OS workstations that will serve your organization for years to come.